Malik

Porcelain vs Quartz Countertops

Porcelain vs Quartz Countertops

If you are weighing porcelain vs quartz countertops, you are probably already past the stage of picking a color and wondering what will actually hold up in your kitchen. That is the right question. A countertop can look great in a showroom, but daily use is where the differences show up – around the sink, beside the cooktop, along seams, and on the edge of an island where everyone leans.

Both materials can work beautifully in kitchens, bathrooms, bars, and laundry rooms. Both offer clean, modern looks and a wide range of styles. But they do not behave the same way during fabrication, installation, or everyday use, and those details matter when you are making a long-term decision.

Porcelain vs quartz countertops: the biggest difference

The simplest way to think about it is this: quartz is generally better known for everyday consistency and impact resistance, while porcelain stands out for heat resistance, UV stability, and large-format design flexibility.

Quartz is an engineered surface made primarily from natural quartz mixed with resins and pigments. That gives it a dense, non-porous structure and very consistent patterning. It is a popular choice for busy kitchens because it is easy to live with and easy to clean.

Porcelain is a manufactured ceramic surface fired at very high temperatures. It is also non-porous, very hard, and highly resistant to heat and UV exposure. Because of how it is made, porcelain can achieve very thin profiles and detailed printed designs, including marble looks, concrete looks, and bookmatched patterns.

If your priority is a low-maintenance kitchen surface with a more substantial feel, quartz often makes sense. If your priority is heat performance, outdoor use, or a very specific contemporary look, porcelain may be the better fit.

Durability in real kitchens

Homeowners often ask which material is more durable, but durability depends on what kind of wear you mean.

Quartz handles everyday use very well. It resists staining, does not need sealing, and stands up nicely to spills, food prep, and family traffic. It also tends to be less prone to edge chipping than many people expect, especially when fabricated properly and installed on level cabinetry.

Porcelain is extremely hard and scratch resistant. It performs very well against heat, and unlike quartz, it is not sensitive to UV light, which makes it suitable for outdoor BBQ areas and sun-heavy spaces. That said, porcelain can be more vulnerable to chipping on exposed edges if the design, edge treatment, or installation is not handled carefully.

This is where fabrication matters. Sink cutouts, cooktop openings, mitered waterfall edges, and narrow spans all need precision. A strong material on paper can still disappoint if the fabrication details are rushed.

Heat, scratches, and chips

Porcelain has the advantage on heat resistance. Hot pots are less of a concern on porcelain than on quartz, though using trivets is still smart if you want to protect the finish and avoid unnecessary stress.

Quartz has the advantage for a more forgiving feel in many indoor kitchens, but excessive direct heat can damage the resin binders over time. Setting a hot pan straight from the stove or oven onto quartz is not a habit worth testing.

For scratching, porcelain is excellent. Quartz also resists scratches well in normal use, but neither surface should be treated like a cutting board.

For chips, the answer is more nuanced. Porcelain is hard but can chip more noticeably at corners or edges if hit with enough force. Quartz is also not chip-proof, but thicker slab construction and certain edge profiles can make it feel more substantial in family kitchens.

Appearance and design flexibility

This is often where the decision starts, and sometimes where it ends.

Quartz gives you a broad range of colors and patterns, from soft solids to dramatic veining. It is especially strong if you want a clean white kitchen, a warm neutral island, or a marble-inspired surface without the maintenance concerns of natural stone. The patterns are consistent, which many homeowners appreciate when they want predictability across an entire kitchen.

Porcelain offers a different kind of design flexibility. It can create ultra-modern thin surfaces, large slab visuals, and bold printed patterns that feel architectural. It is also a strong choice for full-height backsplashes, fireplace surrounds, shower walls, and matching countertop-to-wall applications.

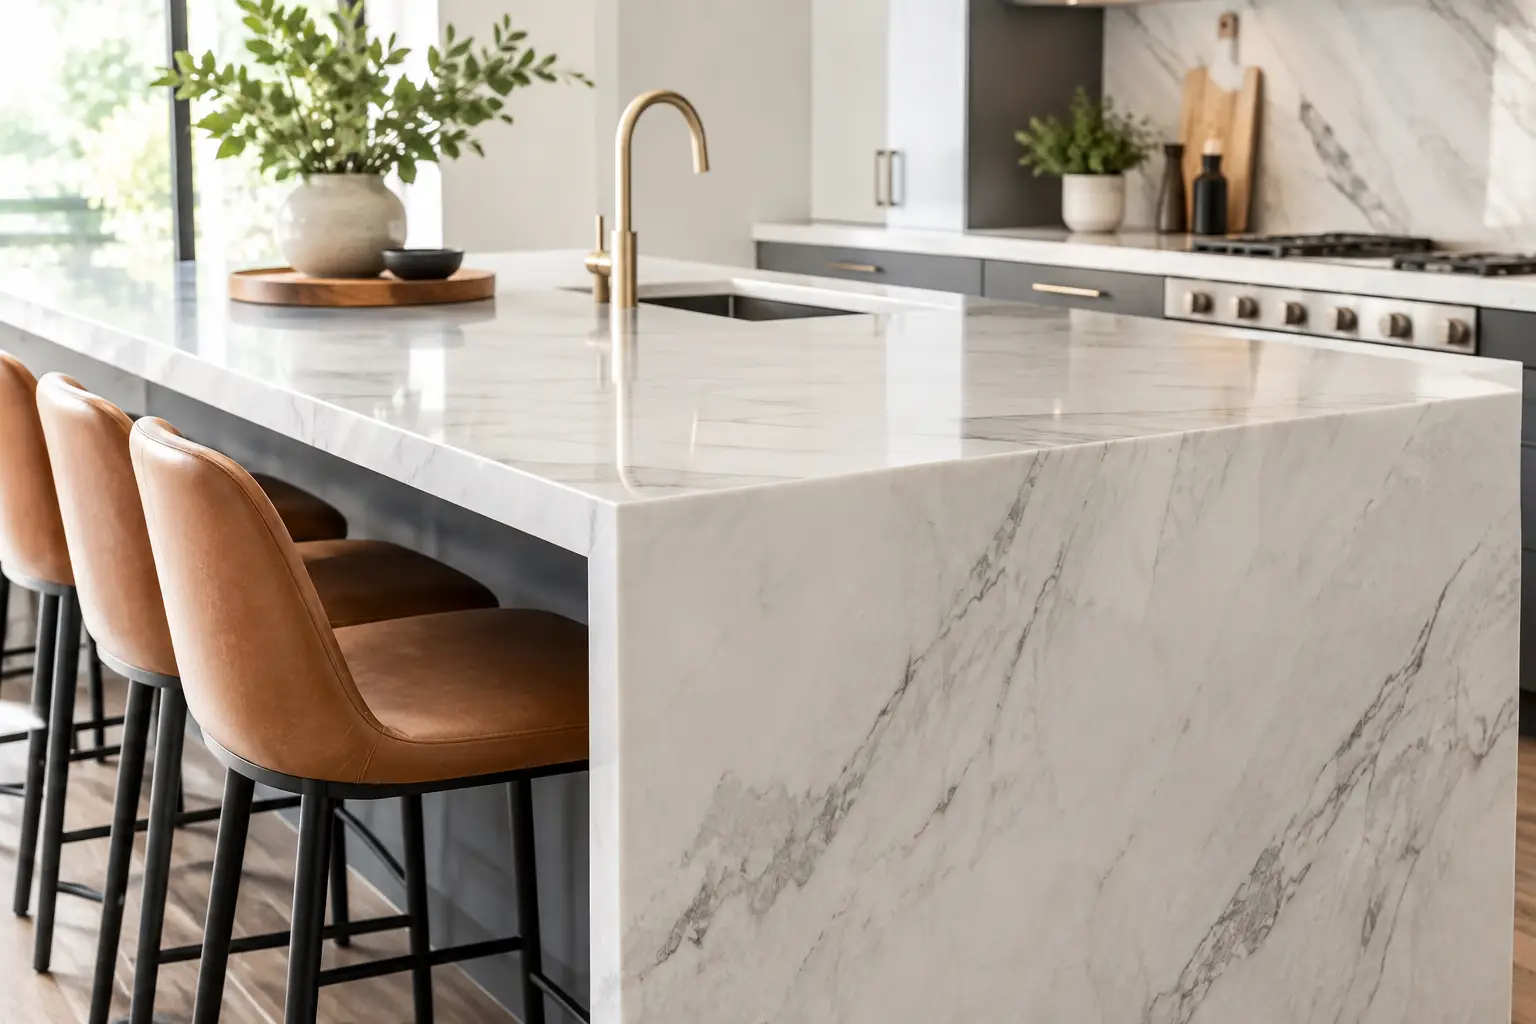
If you are considering a waterfall island, both materials can work, but the visual result can differ. Quartz often looks fuller and heavier, especially in thicker profiles. Porcelain can create a sharper, more minimal look, particularly with mitered edges. The right choice depends on whether you want the island to feel solid and grounded or sleek and crisp.

Seams, thickness, and edge details

When homeowners compare samples, they are usually looking at color. When they live with the countertop, they notice seams, thickness, and edge execution.

Quartz is commonly fabricated in thicker profiles and tends to offer more familiar edge style options. Eased edges, bevels, and more substantial island builds are straightforward. For many kitchens, that makes quartz feel more traditional, more substantial, or simply more in line with what homeowners expect a countertop to be.

Porcelain is often thinner by nature, which can be a design advantage, but it also changes how edges are built. If you want a thicker look, the edge is usually mitered rather than being a full solid slab thickness. A well-made miter can look excellent, but it requires precision.

Seams are another practical consideration. Large layouts, long runs, and waterfall returns may require seams with either material. The best outcome depends on slab size, pattern direction, layout planning, and careful templating. This is especially true around sinks and cooktops, where narrow pieces need support and clean fabrication.

Maintenance and cleaning

Both quartz and porcelain are easy to maintain compared with many natural stones. Neither requires sealing, and both clean up well with mild soap and water.

Quartz is straightforward for everyday messes like coffee, sauce, or oil splatter. Porcelain is also highly stain resistant and handles routine cleaning with very little fuss.

The bigger difference is not daily cleaning. It is how the material responds to misuse over time. Quartz does not like excessive heat. Porcelain does not love hard impact on exposed corners. Neither material benefits from harsh chemical cleaners used repeatedly.

For most homeowners, maintenance should not be the deciding factor between the two. They are both practical surfaces. The better question is which maintenance risk you are more likely to face in your home.

Cost and value

Pricing varies by brand, color, slab size, thickness, edge build, cutouts, backsplash details, and installation complexity. There is no universal rule that one is always cheaper than the other.

In many projects, quartz pricing is easier for homeowners to understand because it is such a common kitchen countertop material. Porcelain pricing can shift more depending on the slab selected and the fabrication details involved, especially for mitered edges, waterfall panels, wall cladding, or more complex handling requirements.

It is also worth looking beyond slab price alone. A kitchen with multiple sink cutouts, a large island overhang, full-height backsplash sections, and tight installation access can change the final number. Material choice matters, but project scope matters just as much.

Value is about fit. If you want one of the easiest surfaces for an indoor family kitchen, quartz often delivers strong value. If you need UV resistance, high heat performance, or a thin contemporary look, porcelain may justify the added complexity.

Which one is better for your project?

Choose quartz if

Quartz is often the better fit if you want a dependable indoor countertop with a substantial feel, simple maintenance, and a wide range of consistent colors and patterns. It works especially well in busy kitchens, bathroom vanities, mudrooms, bars, and laundry spaces where easy cleanup matters every day.

It is also a practical choice when you want a thicker-looking countertop, familiar edge styles, and an overall design that feels clean and polished without being overly delicate.

Choose porcelain if

Porcelain makes sense if heat resistance is high on your list, if the project is outdoors, or if you want a thinner, more architectural look. It is also a smart option for homeowners who want the countertop and backsplash to work together in one continuous visual statement.

For fireplaces, shower walls, outdoor BBQ counters, and modern kitchens with sharp lines, porcelain has real advantages. It just needs careful fabrication and installation to perform the way it should.

The detail that matters most

Porcelain vs quartz countertops is not only a material question. It is also a fabrication and installation question. The same slab can look average or exceptional depending on how the seams are planned, how the sink reveal is finished, how the edge is built, and how well the installers handle leveling and fit.

That is why material selection should always be tied to the actual layout of your space, not just a sample in your hand. A good decision comes from seeing how the slab, thickness, edges, cutouts, overhangs, and backsplash details all work together.

If you are stuck between the two, think about how you cook, how much direct sun the space gets, whether you want a thick or thin profile, and how much you care about heat performance versus edge forgiveness. The best countertop is not the one with the most hype. It is the one that fits your kitchen, your habits, and the way the finished project needs to come together.

Best Countertop Materials for Kitchens

Best Countertop Materials for Kitchens

The best countertop materials for kitchens usually come down to one simple question: how do you actually use your kitchen every day? A surface that looks perfect in a showroom can feel high-maintenance in a busy family kitchen, while a practical material can still look sharp if the fabrication and installation are done well. That is why the right choice is rarely about trends alone.

Some homeowners want the lowest maintenance possible. Others care most about natural pattern, heat resistance, or getting a specific edge profile or waterfall island to look clean and intentional. The material matters, but so do the details around it – slab layout, seam placement, sink cutouts, overhang support, thickness, and finish.

Best countertop materials for kitchens by lifestyle

If you cook often, have kids, host regularly, or simply do not want to think much about maintenance, quartz is usually the easiest fit. If you want natural movement and are comfortable with some upkeep, granite and quartzite are strong options. If your priority is dramatic veining and a softer, classic look, marble still has a place, but it asks more from the homeowner. Porcelain and sintered stone have become more popular for modern kitchens because they offer a slim, clean look with strong stain and heat resistance.

There is no single best material for every kitchen. The better question is which material performs best for your habits, budget, and design goals.

Quartz: low maintenance and consistent performance

Quartz remains one of the most requested kitchen countertop materials for good reason. It is non-porous, easy to clean, and available in a wide range of colors and patterns. For many homeowners, that combination checks the biggest boxes right away.

In practical terms, quartz works well in busy kitchens because it resists staining better than many natural stones and does not require sealing. Coffee, oil, sauce, and everyday messes are less stressful when the surface is simple to wipe down. It also gives you a more controlled look if you want clean whites, soft concrete tones, or marble-inspired patterns without the unpredictability of a natural slab.

The trade-off is heat. Quartz handles normal kitchen use well, but it is not the material you want to test with hot pans straight from the stove. It is also a manufactured surface, so if you love strong natural variation, granite or quartzite may feel more authentic. From a fabrication standpoint, quartz works well for modern eased edges, mitered thicker-looking profiles, full-height backsplashes, and waterfall panels when careful slab matching is part of the plan.

Granite: natural stone with strong everyday durability

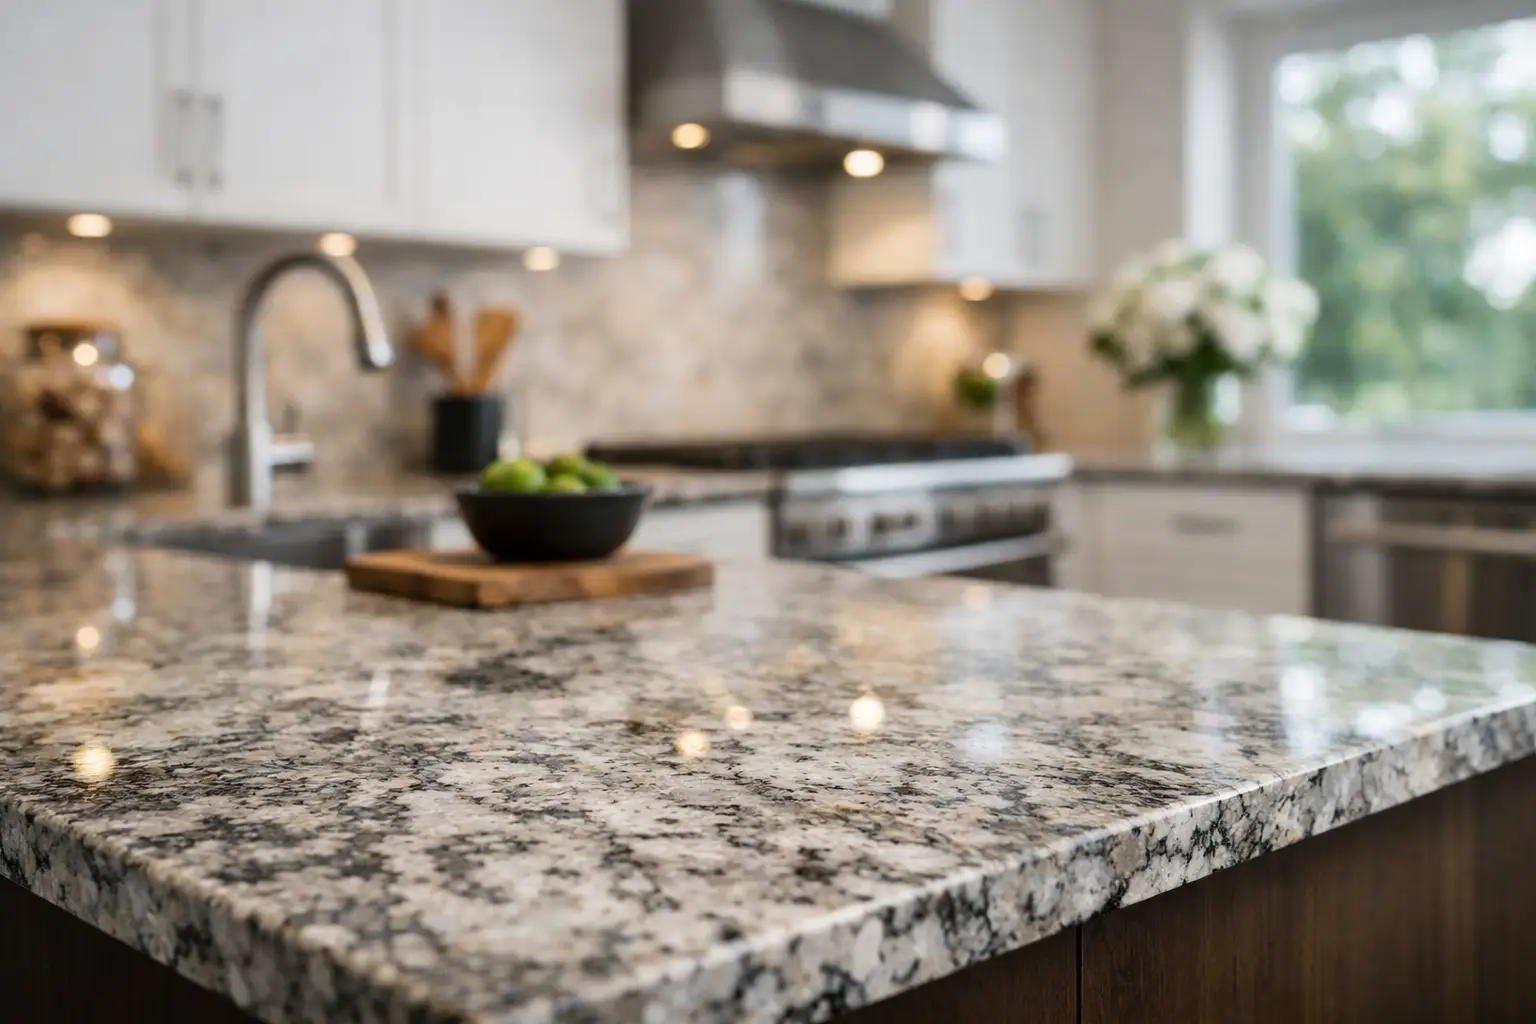
Granite has stayed relevant because it offers a balance many homeowners still want – real stone, good durability, and strong heat resistance. Every slab is different, so it appeals to people who do not want a surface that looks repeated or uniform.

For kitchens that see heavy cooking, granite is often a comfortable middle ground. It stands up well to daily wear, handles heat better than quartz, and offers a wide range of movement from subtle to bold. Some granites are very consistent in pattern, while others are more dramatic. That difference matters when planning seams, islands, and long runs.

Granite does need sealing, though the frequency depends on the specific stone. Some darker, denser granites are relatively low maintenance, while lighter or more porous options need more attention. If you are choosing granite, slab selection matters. The same material name can still look quite different from one slab to another, and that affects the final result more than many homeowners expect.

Quartzite: high-end natural performance with more variation

Quartzite is often chosen by homeowners who want the look of marble but better durability. It is a natural stone with beautiful movement, and in many cases it performs better against scratching and etching than marble.

That said, quartzite is not one single experience. Some slabs are denser and easier to live with than others. Some have soft, marble-like veining, while others are bolder and more crystalline. Pricing can also run higher than quartz or granite depending on the color and availability.

Quartzite works especially well when you want a statement island or a natural slab with depth and character. It can be a strong fit for busy kitchens, but it still benefits from proper sealing and realistic expectations. It is durable, not maintenance-free. Good fabrication is also important because natural stone variation can make vein flow, seam planning, and waterfall alignment much more noticeable.

Marble: beautiful, classic, and higher maintenance

Marble has a look that other materials still try to imitate. It feels softer, more natural, and often more timeless than engineered patterns. For some kitchens, especially where visual impact matters more than perfect resistance to wear, it can be exactly the right call.

But marble comes with trade-offs, and it helps to be honest about them. It is more prone to etching from acidic foods and more likely to show wear over time. That does not mean it fails. It means it ages differently. Some homeowners like that lived-in look. Others do not.

Marble can work well in lower-impact baking areas, statement islands, or kitchens where the owner understands the maintenance and accepts that the surface will develop character. If your goal is pristine and worry-free, marble is probably not the best fit. If your goal is natural beauty and you are comfortable with patina, it still earns consideration.

Porcelain and sintered stone: sleek and modern

Porcelain and sintered stone are getting more attention in kitchens because they combine a refined look with strong performance. These materials are known for resisting stains, UV exposure, and heat, which makes them useful not only in kitchens but also in spaces like bars or outdoor applications.

In a kitchen, they are often selected for slimmer profiles, contemporary designs, and large-format surfaces. They can create a very clean look with minimal visual weight. They are also appealing when homeowners want bookmatched backsplashes or continuous modern surfaces.

The main consideration is fabrication. These materials require precision for cutouts, edges, corners, and installation. Not every edge style or profile is handled the same way as quartz or granite, and careful planning matters for cooktop cutouts, sink openings, and exposed ends. When handled properly, they offer a sharp, durable finish that suits modern kitchens well.

Cost, thickness, and fabrication details matter too

When homeowners compare the best countertop materials for kitchens, they often start with color and price. That makes sense, but fabrication details have a real impact on both appearance and budget.

A standard thickness may suit one kitchen perfectly, while another benefits from a built-up mitered edge for a thicker look. Waterfall islands add visual impact, but they also require more material, more fabrication time, and close attention to pattern direction. Large sink cutouts, curved corners, drain grooves, and full-height backsplashes all add complexity.

Seams are another area where expectations matter. Most kitchens require at least one seam depending on layout, slab size, and access into the home. The goal is not pretending seams do not exist. The goal is placing them thoughtfully and fabricating them cleanly so they are as discreet as possible.

Overhangs matter too, especially on islands with seating. Some designs can handle a modest overhang without added support, while others need brackets or structural reinforcement. This is one of those details that should be decided before fabrication, not after installation day arrives.

How to choose the right material for your kitchen

A busy family kitchen usually benefits from quartz or a durable granite. A homeowner who wants natural movement and is comfortable with sealing may lean toward granite or quartzite. Someone focused on a sleek, modern design may prefer porcelain or sintered stone. And someone who values natural aging and classic character above easy maintenance may still choose marble.

It also helps to think beyond the center of the slab sample. Ask how the material handles stains, heat, and daily cleanup. Ask how it will look with your sink cutout, edge profile, backsplash, and island overhang. Ask where seams are likely to fall. These are the questions that shape the final result.

A good countertop decision is not only about picking a material name. It is about choosing a surface that fits your kitchen, your habits, and the level of maintenance you are actually willing to take on. When that part is clear, the design choices become much easier, and the finished kitchen tends to feel right for a long time.

The smartest choice is usually the one you will still be happy with on a busy Tuesday night, not just the one that looked best under showroom lights.

Countertop Repair or Replace? How to Decide

Countertop Repair or Replace? How to Decide

A chipped edge beside the sink, a stain that will not lift, a crack near the cooktop – this is usually the point where homeowners start asking the same question: countertop repair or replace? The right answer depends on more than the damage itself. Material type, slab layout, seam placement, sink cutouts, age, and the overall function of the space all matter.

A small cosmetic issue can often be repaired well enough to blend into daily use. But some problems point to deeper stress in the slab or poor support underneath, and patching them only delays a bigger fix. If you are weighing the options for a kitchen, bathroom vanity, bar, or laundry room, it helps to look at the problem the way a fabricator and installer would.

When countertop repair or replace is a real decision

Not every damaged countertop is a replacement job. A polished stone surface with a minor chip on an outside corner is very different from a cracked sink rail in a busy kitchen. One issue is mostly visual. The other affects a high-stress area that handles daily weight, water, and movement.

Repairs make the most sense when the damage is limited, the slab is structurally sound, and the material can be restored without leaving an obvious weak spot. This is common with small edge chips, light etching on marble, minor surface scratches, or localized seam touch-ups.

Replacement becomes the better choice when damage affects strength, sanitation, or long-term performance. Deep cracks, failed seams, broken overhangs, repeated staining, and damage around sink cutouts are all signs that the countertop may no longer be reliable. In those cases, a repair can improve appearance for a while, but it may not solve the underlying issue.

Start with the material, not just the damage

Countertop materials do not fail the same way, and they do not repair the same way either. That is why the first question should be what the surface is made of.

Quartz

Quartz is durable and consistent, but it is not indestructible. Chips can often be filled, especially on eased edges or simple square profiles. Cracks are more complicated, particularly near cooktops or sink openings where stress is concentrated. If heat damage has caused discoloration or resin movement, replacement is often the cleaner solution because that type of damage does not usually disappear with a surface fix.

Granite and quartzite

Natural stone can often be repaired more successfully than homeowners expect. Small chips, fissure-related issues, and some cracks can be stabilized and polished. Because the pattern is natural, minor repairs may blend better than they would on a solid-color surface. Still, if a crack runs through a narrow section near a sink cutout or unsupported overhang, replacing that section may be more practical than trying to preserve it.

Marble

Marble brings a different conversation because some marks are part of how the material ages. Etching, dull spots, and minor wear can often be refinished. But if the homeowner is already frustrated by staining and maintenance, replacement may be a chance to move to a more practical material for the way the space is used.

Porcelain and sintered stone

These materials are strong and highly resistant to staining and heat, but repairs can be less forgiving depending on the break and the edge treatment. A chipped corner may be manageable. A major crack or impact break often points toward replacement, especially if the finish or edge profile cannot be recreated cleanly on site.

Signs repair is usually worth it

A good repair solves a contained problem without introducing a new one. In most homes, that means the damage is visible but limited.

Minor edge chips are one of the most common examples. They happen around dishwashers, islands, and exposed corners. If the chip is small and the surrounding surface is stable, a color-matched fill and polish can improve it significantly.

Surface scratches or dull areas may also be repairable, depending on the material. Honed and polished natural stone can often be corrected more easily than many homeowners expect. Small seam issues, especially where the slabs are still level and secure, may be addressed without full replacement.

Repair is also worth considering when the countertop is relatively new, the layout still works well, and matching a replacement slab would be difficult or expensive. If the rest of the installation is in good shape, fixing a local issue may preserve a lot of value.

Signs replacement is the smarter long-term move

The biggest reason to replace is not appearance. It is risk.

A crack through the sink rail is a good example. That narrow strip in front of or behind the sink takes daily stress, and once it is compromised, repairs may not hold the way homeowners hope. The same goes for fractures near faucet holes, cooktop openings, and unsupported overhangs.

Seam failure is another major red flag. If a seam has separated, shifted, or become uneven, there may be movement below the countertop or problems with how the original installation was supported. Patching the seam without addressing the cause often leads to the same issue again.

Replacement also makes sense when the countertop has multiple problems at once. A stain here, a chip there, an old seam repair, a poor sink cutout, and worn edges can add up quickly. At some point, investing in another repair stops being cost-effective and starts delaying an update the space already needs.

Cost is part of the answer, but not the whole answer

Homeowners naturally compare the price of a repair against the price of a new countertop. That is reasonable, but it helps to look one step further.

A repair usually costs less upfront, especially when the issue is small and easy to access. But if the repair is in a high-stress area or if the slab has other weaknesses, the lower price may not hold up over time. A replacement costs more initially, but it may solve several issues at once while improving layout, edge details, sink fit, and overall durability.

This matters even more in kitchens where the countertop works hard every day. If you are already unhappy with the material, the seam locations, the overhang depth, or the look of the sink cutout, replacement can be an opportunity to correct those details rather than simply preserve them.

Fabrication details that often change the decision

When professionals assess whether to repair or replace, they are not only looking at the crack or chip. They are looking at how the countertop was fabricated.

A weak area can come from several places. The slab may have a narrow strip around the sink with little room for strength. The overhang may extend too far without proper support. The seam may have been placed in a vulnerable location. Even edge style can play a role, because some profiles are more exposed to impact than others.

Thickness matters too. A 2 cm surface with laminated buildup can behave differently from a solid 3 cm slab. So can large waterfall ends, oversized islands, and long runs with appliance cutouts. If the original fabrication left little tolerance in a stress point, repair may be possible, but replacement with a better layout is often the more reliable fix.

If you replace, think beyond matching what was there

Replacement should not feel like repeating the same mistakes. It is a chance to improve both function and finish.

Maybe the old countertop stained too easily and a quartz surface would better suit the household. Maybe the seam on the island landed in a spot that was always visible, and a new slab layout could reduce that distraction. Maybe the edge profile chipped too often, and a simpler eased edge would wear better in a busy family kitchen.

This is also the time to revisit details like backsplash height, sink style, waterfall panels, thickness, and overhangs for seating. Small changes in fabrication can make the new countertop look cleaner and perform better without changing the entire room.

How to make the right call

If you are stuck between countertop repair or replace, think in three layers: structure, appearance, and future plans. Structure comes first. If the slab is unstable, cracked in a high-stress area, or showing repeated failure, replacement is usually the safer route. If the structure is sound and the issue is mainly cosmetic, repair may be enough.

Then look at appearance honestly. Ask whether the goal is to make the damage less noticeable or to bring the countertop back to near-new condition. Some repairs can blend very well. Others will still be visible on close inspection, especially on solid colors or prominent areas.

Finally, consider what you want from the space over the next several years. If a kitchen update is already on the horizon, a targeted repair may buy useful time. If the countertop is a daily frustration, replacement may be the better investment now.

A good decision is not about choosing the cheaper option or the bigger project. It is about choosing the option that makes the countertop reliable, practical, and worth living with every day.

Countertop Templating Process Explained

Countertop Templating Process Explained

A lot of countertop problems start long before installation day. A sink cutout can be slightly off. A seam can land in the wrong place. An overhang can feel awkward once stools are in place. That is why the countertop templating process explained clearly matters so much – it is the step that turns your selections and rough dimensions into a countertop that actually fits your space.

Templating happens after cabinets are installed and secured, but before fabrication begins. It is the point where real site conditions replace assumptions. Even in a well-planned kitchen or bathroom, walls can be out of square, cabinet runs can vary slightly, and appliance openings may differ from the original drawing. A proper template captures those details so the finished stone is fabricated to the space you actually have, not the one shown on paper.

What countertop templating actually means

Templating is the measuring and mapping process used to create an exact pattern of your countertop layout. That pattern tells the fabrication team where the edges, seams, sink cutouts, cooktop openings, backsplashes, overhangs, and finished ends need to go.

Today, many fabricators use digital tools for this step, although some projects still involve physical templates in certain areas or for specialty details. The method can vary, but the goal is always the same: accuracy. If the template is wrong, fabrication is wrong. If fabrication is wrong, installation becomes difficult or impossible.

This is also where practical decisions get locked in. If you are still undecided on a farmhouse sink, full-height backsplash, waterfall panel, or island overhang, templating day is often the point where those choices need to be finalized.

When templating should happen

Templating should only happen when the space is ready. Cabinets should be fully installed, leveled, and fastened in place. Any support for heavy overhangs or waterfall ends should already be planned. Sink models, faucet specs, and cooktop information should be confirmed.

If anything is likely to move after the template is done, that creates risk. Even a small cabinet shift can affect fit. The same goes for unfinished wall conditions. If a backsplash area is still being changed, or if a panel behind the countertop has not been finalized, that should be addressed before the template is taken.

For homeowners, this timing can feel a little strict, but it protects the finished result. Templating too early is one of the most common causes of delays and remakes.

What to expect on templating day

On templating day, the technician measures the countertop areas in detail and reviews the features that affect fabrication. That includes cabinet layout, sink location, appliance openings, corner conditions, finished edges, and how the stone will meet walls or tall panels.

In a kitchen, the technician may also confirm where seams make the most sense. That decision depends on slab size, material pattern, access into the home, and how the pieces can be safely carried and installed. Homeowners often want as few seams as possible, which makes sense, but fewer seams is not always the only goal. A well-placed seam can be less noticeable and structurally smarter than forcing one oversized piece.

If you selected a material with strong veining, templating can also help prepare for slab layout. This matters with quartzite, marble, porcelain, and some quartz designs where pattern direction affects the final look. A waterfall island, for example, may require careful planning so the veining lines up from the top to the side panel.

The details that get confirmed during templating

The countertop templating process explained in practical terms comes down to one thing: locking in the details before the stone is cut. That includes more than basic length and width.

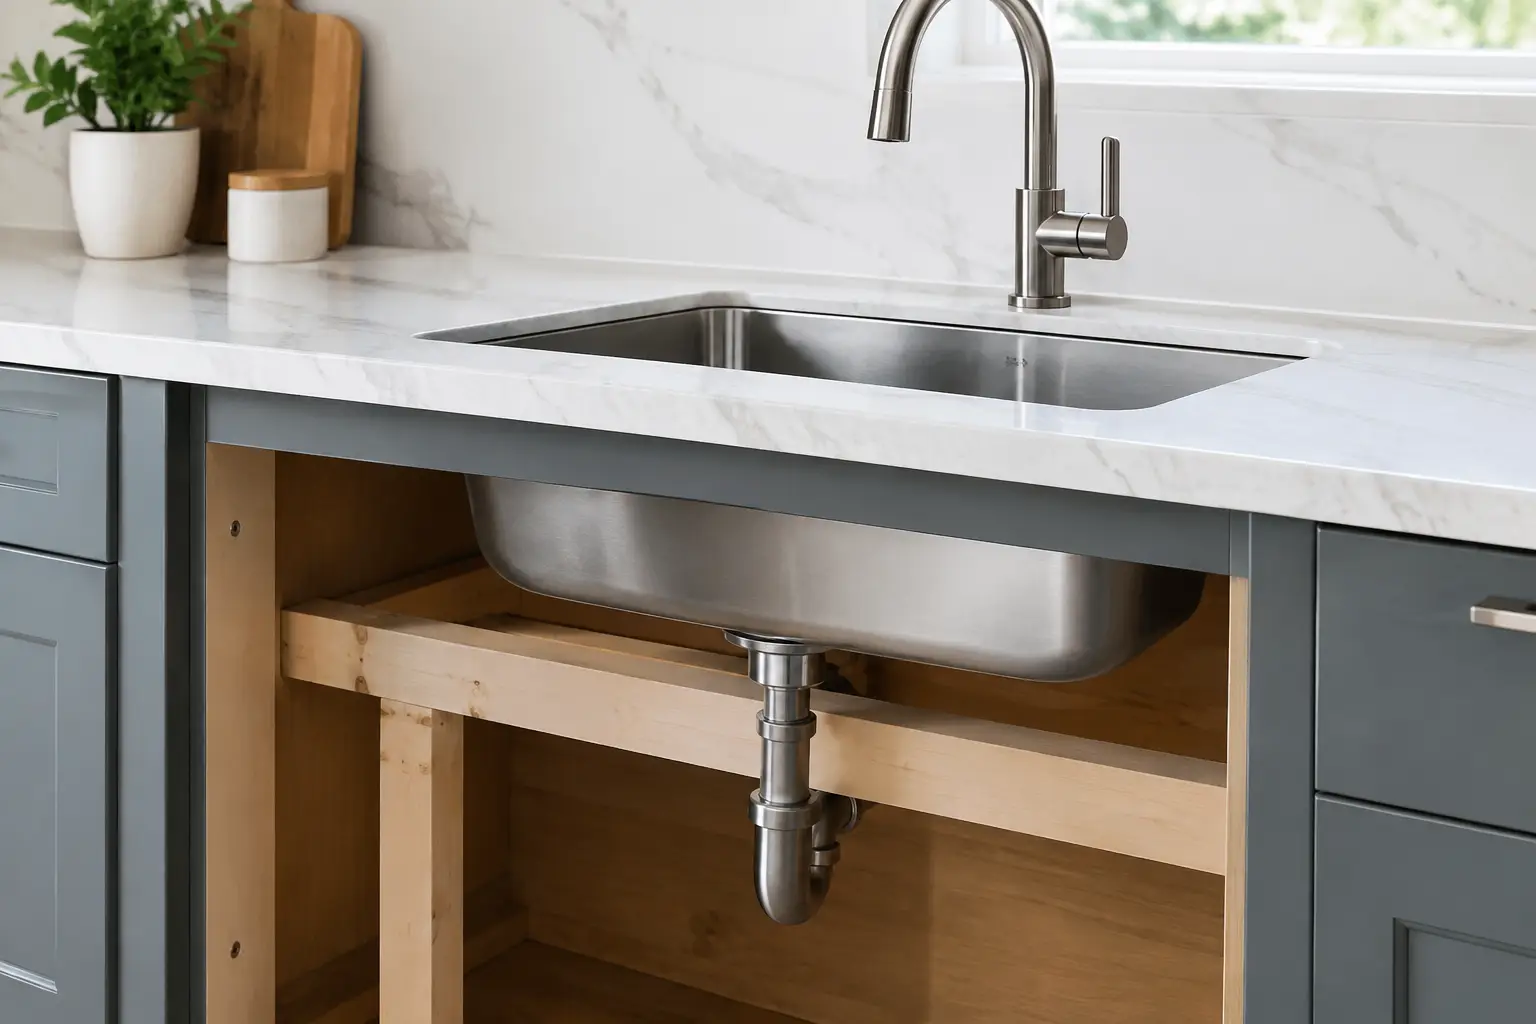
Sink cutouts are a big one. Different sinks require different reveals, and that decision changes the look at the edge of the opening. An undermount sink can be installed with a positive reveal, negative reveal, or flush-style finish depending on the design and the material. Drainboard grooves, faucet hole locations, and accessory cutouts also need to be confirmed at this stage.

Overhangs matter too, especially on islands and peninsulas. A standard seating overhang may work fine in one kitchen, while another space needs a little more knee room or added support. If the overhang is too deep without proper reinforcement, it can create structural concerns.

Thickness, edge profile, and backsplash details are also finalized. A simple eased edge gives a clean, modern look, while a mitered edge can create the appearance of a thicker slab. Short backsplashes, full-height stone, or no backsplash at all each affect how the countertop is measured against the wall.

Why walls and cabinets change the final measurement

Homeowners are often surprised that a room that looks straight can still be off enough to matter. Walls can bow. Corners can be slightly open or tight. Cabinet runs can drift by a small amount over several feet. Stone does not flex to hide those issues, so the template has to account for them.

This is especially important in older homes, but it also comes up in newer construction. A digital template can capture the actual wall line so the fabricated countertop follows the room more closely. That improves fit and reduces the need for field adjustments during installation.

There is always a balance here. A countertop can be scribed closely to a wall for a tighter fit, but some situations may still call for a small caulk joint or backsplash coverage, depending on the material, edge condition, and wall finish.

How templating affects fabrication and turnaround

Once the template is approved, fabrication can begin. The measurements from the site are transferred into the cutting and finishing process. That includes cutting the slab, polishing edges, preparing sink and cooktop openings, shaping corners, and planning seam locations.

Accurate templating helps fabrication move faster because there are fewer surprises. It also improves installation day. When pieces arrive fitting as expected, installers can focus on setting, leveling, seaming, and finishing rather than trying to solve avoidable fit issues on site.

Turnaround times vary depending on material availability, project complexity, and the fabrication schedule. A simple vanity top usually moves faster than a large kitchen with a waterfall island, full-height backsplash, and multiple cutouts. Porcelain and sintered stone may also require extra planning because of handling and fabrication considerations.

What homeowners should prepare before templating

The best templates happen when the project decisions are mostly settled. Homeowners should have final sink and faucet selections ready, appliance specs available, and clear direction on overhangs, edge profile, and backsplash plans.

It also helps to think through daily use. A beautiful island edge might look great in a photo, but if it is where kids sit every day, comfort matters. The same goes for sink placement, seam visibility, and corner shapes. These are small details until you live with them.

If you are still deciding between materials, remember that each one behaves a little differently. Quartz offers consistency and low maintenance, while granite and quartzite have natural variation. Marble brings a softer, classic look but requires more care. Porcelain and sintered stone can work well for thin, modern applications, though design and installation details need careful attention. The template itself is about measurement, but those material choices influence fabrication and edge options.

Common concerns homeowners have

One common question is whether you need to be home for templating. It helps, because this is the best time to confirm design choices in person. Another is whether changes can be made afterward. Small changes may be possible before fabrication starts, but once the slab is cut, revisions become much harder.

People also ask if templating guarantees there will be no seams. Not necessarily. Seam placement depends on the slab dimensions, the layout, the material, and safe installation practices. The better goal is thoughtful seam planning, not pretending seams never exist.

Another concern is whether the template includes allowances for installation. Yes, but that does not mean large site corrections should be expected. Precision fabrication works best when the cabinets are level and the room is ready.

Why this step matters more than most people think

Templating is not the glamorous part of a countertop project, but it is one of the most important. It connects design choices to fabrication reality. It is where measurements become edges, seams, cutouts, and finished stone that has to fit beautifully on the first trip.

For homeowners, the value is simple: fewer surprises, better fit, and a cleaner installation. For a fabrication and installation team, it is the foundation of good craftsmanship. Stone Valley Countertops handles this step in-house for exactly that reason – the people measuring the project understand how the material will be cut, finished, and installed.

If you are preparing for new countertops, treat templating as the point where details stop being flexible and start becoming permanent. Ask questions, confirm your choices, and take the time to get it right. A well-made countertop starts long before the slab reaches your home.

Countertop Thickness Guide for Real Homes

Countertop Thickness Guide for Real Homes

A countertop can look perfect in a showroom and still feel wrong once it is in your kitchen. Thickness is often the reason. It changes how substantial the surface looks, how the edge reads from across the room, how much support an overhang needs, and sometimes even the final cost. A good countertop thickness guide helps you look past the sample and choose what actually fits your home.

For most homeowners, the real decision comes down to 2cm versus 3cm. That sounds simple, but thickness affects more than appearance. It can influence edge options, sink details, waterfall design, seam planning, and how modern or traditional the finished room feels. If you are comparing quartz, granite, marble, quartzite, porcelain, or sintered stone, this is one detail worth slowing down for.

What countertop thickness really changes

Thickness changes the visual weight of the countertop first. A 3cm slab looks more solid and grounded, especially on larger kitchen islands. A 2cm slab feels lighter and cleaner, which can work well in minimalist spaces, bathrooms, laundry rooms, and designs where you do not want the countertop to dominate.

It also changes some fabrication choices. Certain edge profiles look better with more material to work with. Some sink installations are easier to execute cleanly with one thickness over another. Overhangs and breakfast bars may need different support depending on the material, span, and slab thickness.

This is why thickness should not be treated as a purely cosmetic upgrade. It is a design and fabrication decision at the same time.

Countertop thickness guide: the common options

2cm countertops

A 2cm countertop is about 3/4 inch thick. This option is common in modern projects because it gives a sleek, streamlined look. It works especially well in bathrooms, fireplace surrounds, bar tops, and spaces where a thinner profile feels intentional.

In kitchens, 2cm can still be a strong choice, but it often depends on the material and layout. Quartz and porcelain can look sharp in 2cm, particularly in contemporary homes. If you want a thicker visual edge, fabrication can create a mitered edge so the countertop appears thicker without using a full thicker slab.

The trade-off is that 2cm may require more planning around support and edge style. You are working with less material, so not every detail gives the same visual impact.

3cm countertops

A 3cm countertop is about 1 1/4 inches thick. This is one of the most popular choices for kitchens because it has a more substantial look and often feels more durable to homeowners, even when the actual performance depends on the material itself.

With 3cm, the edge has more presence. It suits standard eased edges, pencil edges, and many modern profiles well. It also tends to feel balanced on larger kitchen islands and can make a waterfall end look more architectural.

The downside is mainly visual and financial. In smaller rooms, 3cm can feel a bit heavy if the design is already busy. Depending on the material, it can also increase project cost.

Thicker built-up or mitered looks

Some homeowners want the appearance of a 2-inch or even thicker countertop. In most cases, this is created with a mitered edge rather than a slab that is solid all the way through. The fabricator joins pieces at the edge to create a thicker profile.

This approach is popular for waterfall islands, contemporary kitchens, and statement bar tops. It gives a bold look without the full weight and cost of a truly massive slab. The key is precision. A poorly done miter stands out immediately, especially on veined materials where the pattern needs to line up cleanly.

Does material affect the right thickness?

Absolutely. Thickness is never a one-size-fits-all choice because each surface behaves a little differently.

Quartz is available in both 2cm and 3cm and performs well in either, depending on the application. Many kitchen projects use 3cm because it offers a familiar, substantial look and works well with common edge styles. For bathrooms and modern kitchens, 2cm quartz can look crisp and clean.

Granite and quartzite are natural stones with excellent strength, but thickness still matters for visual balance and support planning. A large overhang or long span should always be reviewed carefully, especially if the slab is thinner.

Marble is often chosen for its appearance first, so the thickness decision usually ties closely to design style. A thin marble vanity can feel elegant and understated, while a thicker marble island can create a stronger focal point.

Porcelain and sintered stone are often selected for slim, modern applications. They can work beautifully in thinner profiles, but fabrication details matter. Cutouts, edge treatment, and installation quality all need to be handled with care.

How thickness affects edge profiles

Edge style and thickness should work together. If they do not, the countertop can look out of proportion.

A simple eased edge on a 3cm slab looks clean and balanced in most kitchens. On a 2cm slab, that same edge looks slimmer and more contemporary. Neither is wrong. They just create different effects.

More decorative edge profiles usually need enough thickness to read properly. If you want a stronger profile, extra material helps. On the other hand, if your goal is a modern kitchen with flat cabinet fronts and minimal visual noise, a thinner top with a simple edge often looks better.

This matters even more on islands, where the eye lands on the edge first. A sample viewed from above does not always show how much of the edge you will see once the countertop is installed.

Overhangs, waterfalls, and sink areas

These are the spots where thickness becomes more than a style choice.

For overhangs, support depends on the material, the depth of the overhang, and the slab thickness. A thicker slab may allow more flexibility, but support brackets or other reinforcement may still be needed. Homeowners often assume a heavier-looking top means it can span anything. That is not how stone works. Proper support planning is part of getting a long-lasting installation.

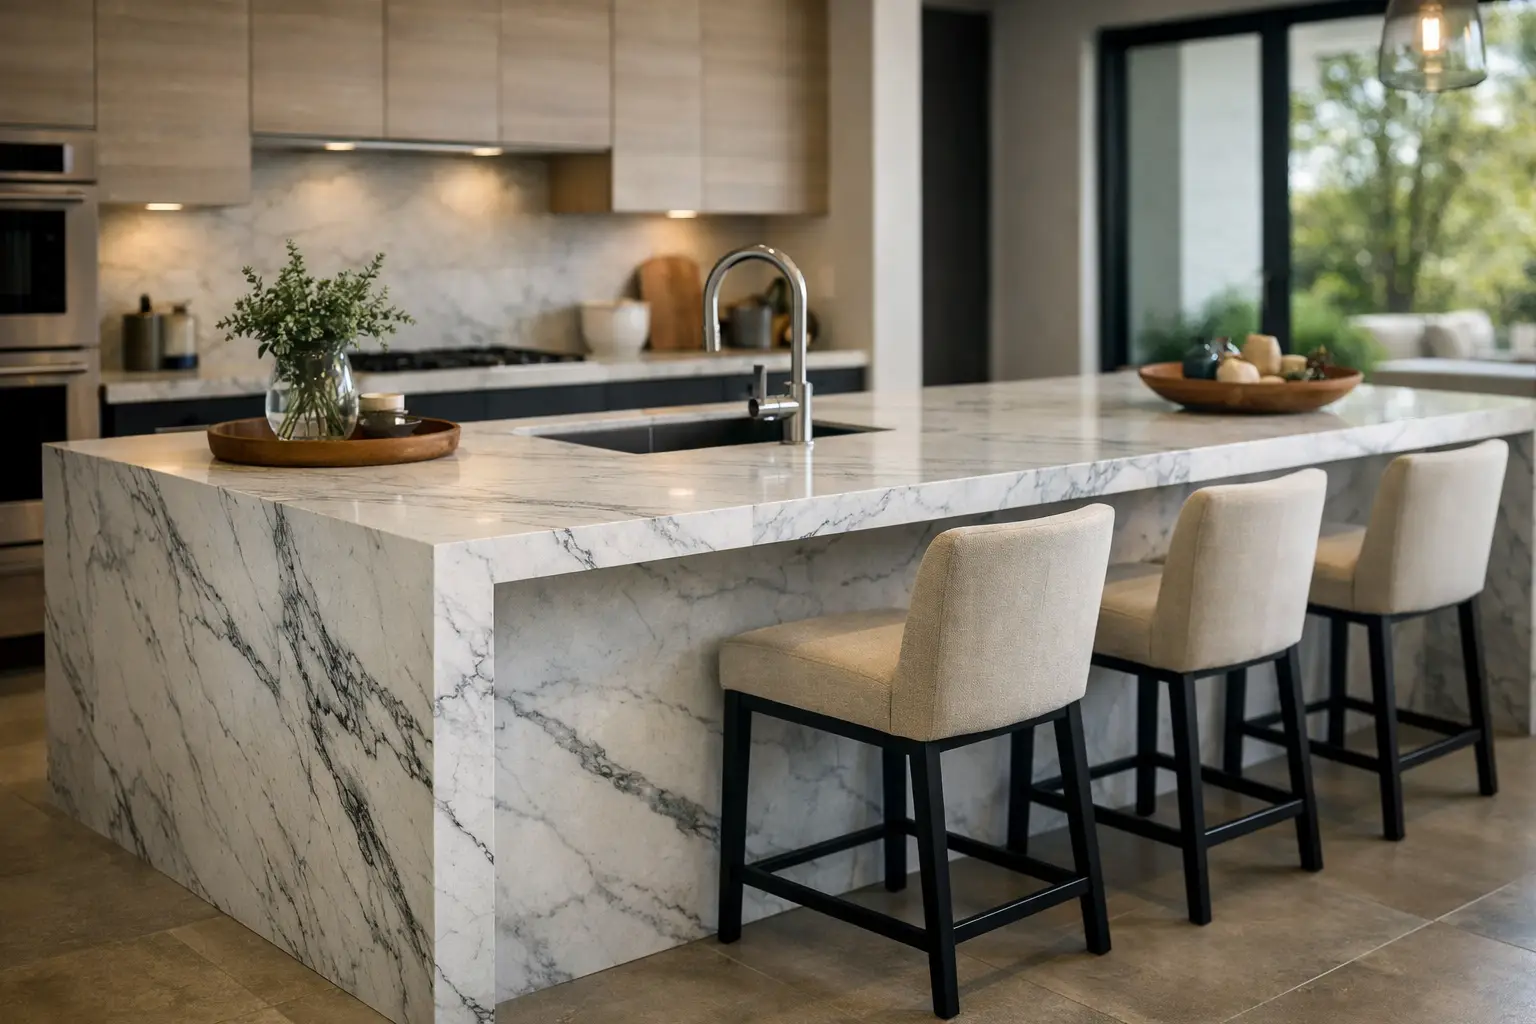
Waterfall islands also deserve special attention. Thickness changes the entire look of the waterfall leg. A 2cm waterfall feels sharp and contemporary. A 3cm waterfall feels heavier and more grounded. If you want a built-up mitered waterfall, fabrication quality becomes especially important because the joint lines and vein matching are highly visible.

At the sink, thickness can influence the final appearance of the cutout and reveal. Undermount sinks often look a little more substantial with thicker material, while thinner profiles can create a lighter look. This is a small detail, but homeowners notice it every day.

Does thicker always mean better?

Not necessarily. Thicker is not automatically stronger, more stylish, or more practical. It depends on the room and the overall design.

In a large kitchen with tall cabinetry, a wide island, and an open layout, 3cm often feels right because it has enough visual presence. In a smaller kitchen or a clean-lined bathroom, 2cm may look more intentional and less bulky.

Budget also matters. In some materials, moving from 2cm to 3cm affects cost. A mitered edge that creates a thicker appearance can also increase fabrication labor. If you are trying to balance look and price, it helps to compare the actual finished detail rather than assuming one option is always the better value.

Questions to ask before choosing thickness

A practical countertop thickness guide should leave you with better questions, not just one fixed answer. Before making a final choice, think about how the countertop will actually be used and seen.

Ask how much overhang your layout includes and whether support will be needed. Ask how the thickness changes the sink area, waterfall edge, or backsplash transition. Ask whether the material you love looks better in a slim profile or a thicker one. And most importantly, ask to see a full edge sample or real project example, not just a flat swatch.

This is where experience matters. A well-made countertop is not just about the slab itself. It is about how that slab is fabricated, supported, finished, and installed in the context of your actual home.

The best thickness for your space

If you want a simple starting point, 3cm is often the safe choice for busy kitchens because it looks substantial and works well across many styles. If you want a sleeker, more architectural look, 2cm may be exactly what your space needs. If you want a bold statement island, a mitered edge can give you that thicker profile without making every surface feel oversized.

The right answer usually sits at the intersection of design, material, budget, and fabrication details. Thickness should match the way your kitchen or bathroom is meant to look and function, not just what seems popular on a sample rack.

When homeowners take a little extra time with this decision, the finished countertop tends to feel more natural in the room. And that is usually the difference between a surface that simply looks nice and one that feels like it was made for the space.